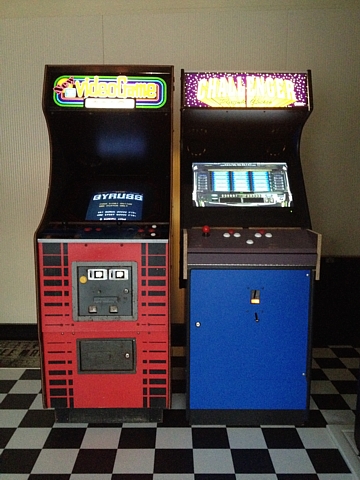
Gottlieb Challenger Arcade
This Cabinet is from a genuine Gottlieb Challenger manufactured in Belmore, Sydney by Jambene Pty. Ltd.
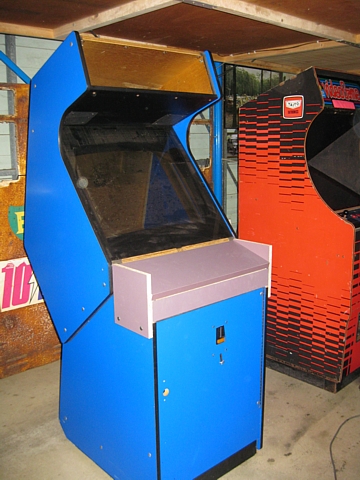
Purchased as an empty unit with no internals and perfect for a MAME conversion.
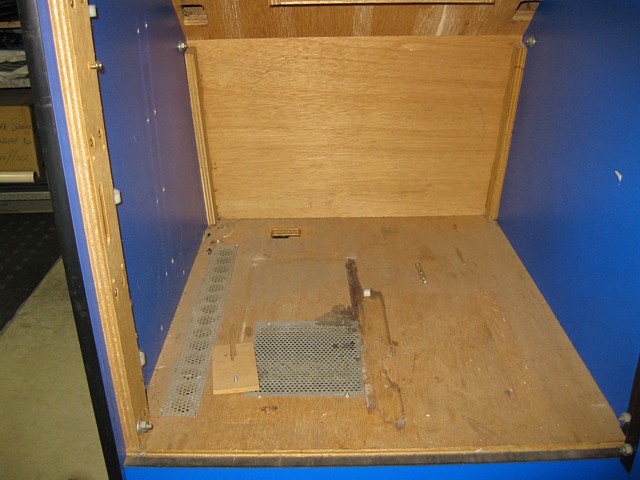
I wouldn't sacrifice a genuine arcade machine for a MAME conversion but this unit was already completely devoid of original parts bar the cabinet itself.
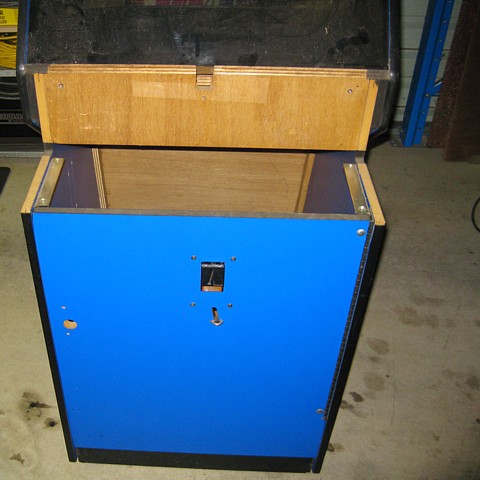
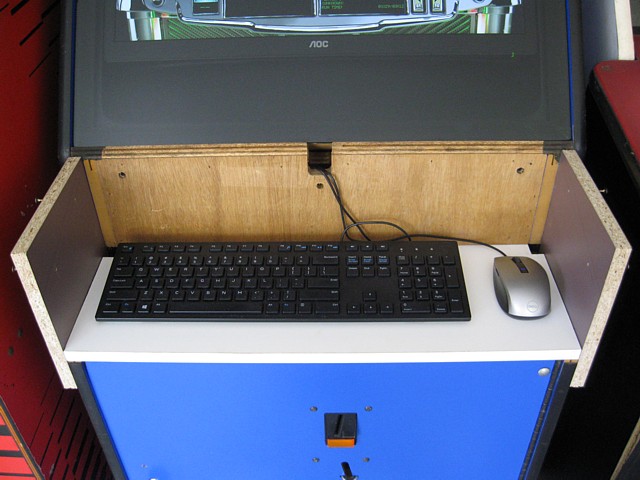
Pictured here with the beginnings of a new Control Panel and combined Keyboard Drawer for the PC Keyboard and Mouse to be conveniently accessed.
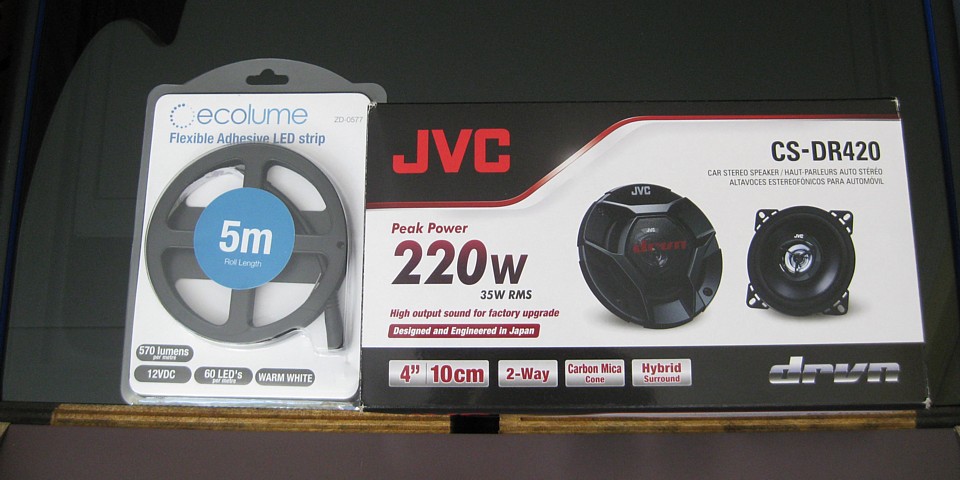
The only internal components which were still present were the two 4" speakers but these were not to be retained as the plan to include a jukebox function necessitated a slight upgrade in the speaker department. A pair of (JVC) 2 way 4" car stereo type speakers taking their place, behind the cabinet's original perforated steel grilles.
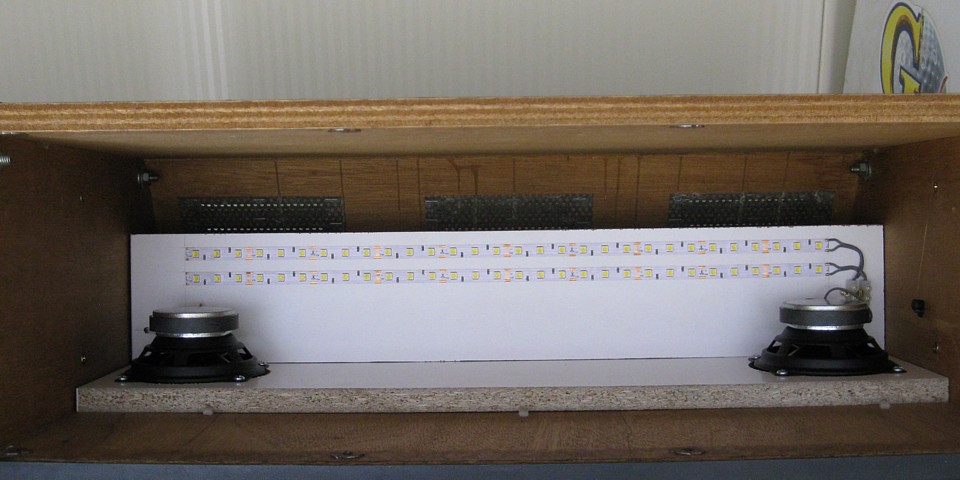
A spacer panel was required to fit the 2-way speakers without modifying the original slotted plywood panel, also providing a surface for the Marquee light LED strips. Two strips, around 1 meter in total to match the light output of a fluorescent tube.
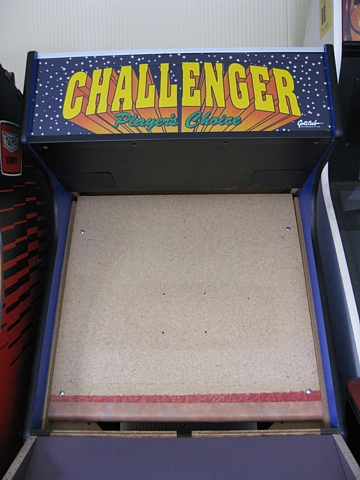
An original type (possibly genuine New Old Stock) Marquee graphic placed between 2 sheets of 3mm acrylic. Note the mounting holes for the original 26" CRT, either vertical or horizontal orientation. The quality of the original cabinet work is evident in this photo.
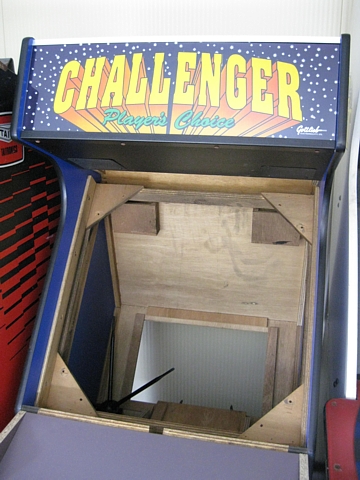
A simple panel for VESA mounting the new 24" widescreen HD LCD monitor (the largest which will fit without modifying or discarding the original CRT bezel). The monitor will sit neatly in front of the bezel, just behind the original slightly tinted glass.
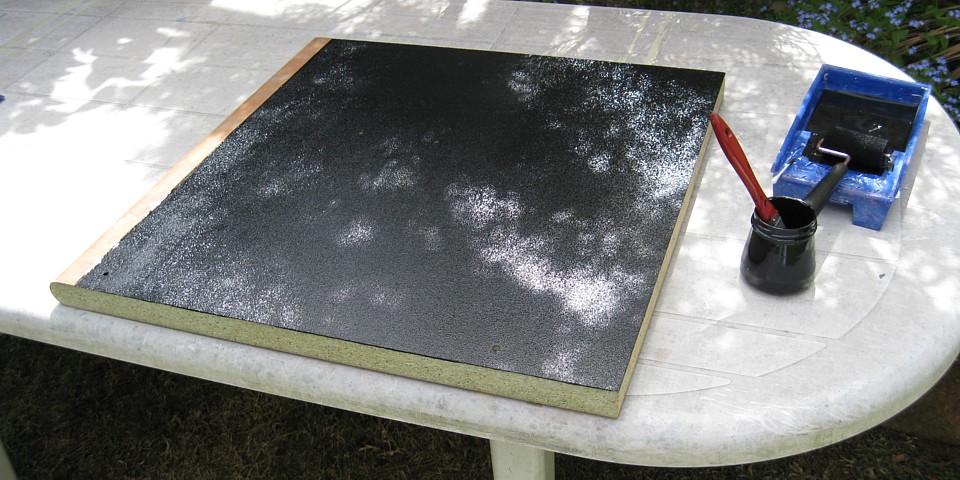
The LCD monitor is wider than the original CRT but not as high, so a small section of this panel will be visible. Some flat black paint applied with a roller to match the finish of the bezel and surround. To allow this particular monitor to sit just behind the glass, the panel used is about 35mm thick. The weight is not an issue, compared to the original 26" CRT.
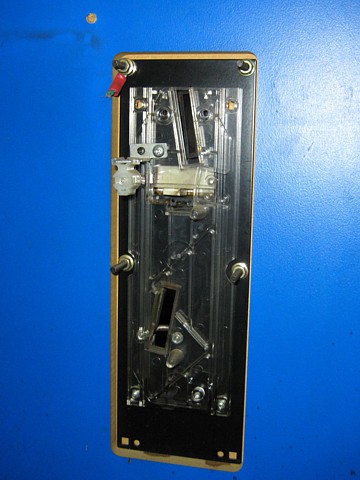
Even the Coin slot seen in the previous photos was only a faceplate. I have since obtained a couple of the original type Mars MS 111 coin mechs and a genuine Gottlieb triple coin credit board.
I 3D printed the two coin-mech retaining clips as these were missing. I've also made a little board which plugs onto the pins of the coin mech, adding an open-collector output buffer and a switch to enable or disable each coin denomination. The coin mech was pre-programmed to accept 20c, $1, $2 coins and tokens. I've bought some assorted old tokens and so far found only one which is (sometimes) accepted - an AMF (bowling alley?) token
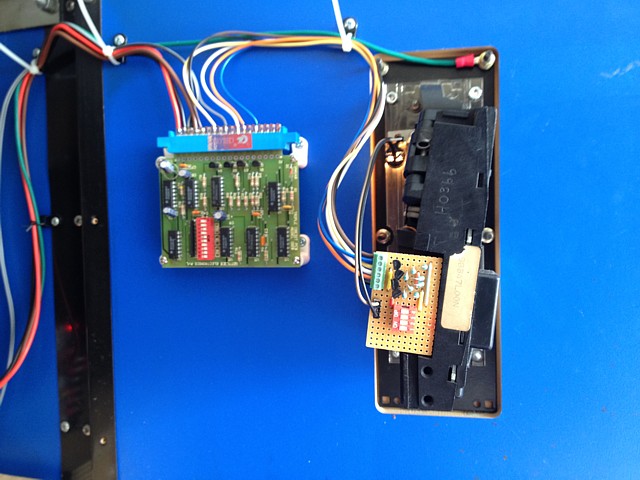
The Gottlieb triple coin credit board obviously handles three denominations and the number of credits can be switch selected for each. I've set it to 2x20c=1 credit, $1=3 credits and $2=7 credits, the maximum available. I've wired the 'token' signal into the service switch input which results in a credit per token.
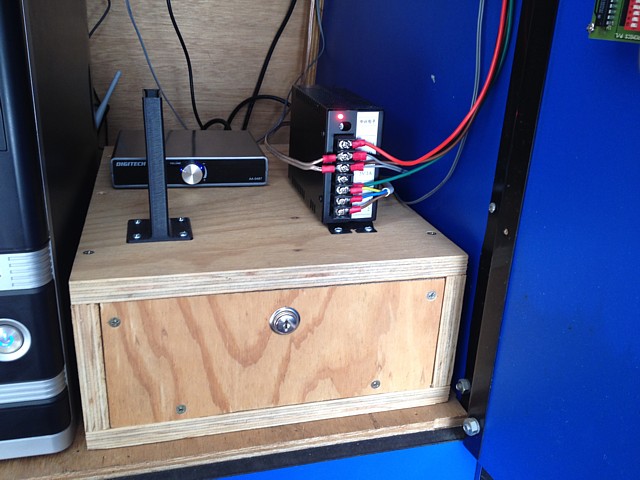
A standard type arcade Power Supply runs the Marquee LED lights, Audio amplifier, Coin Mech (12V) and Credit Board (5V). Along with a newly fabricated (plywood) coin box and 3D printed coin chute the coin-op part is functional once again. The machine is not used commercially but the coin per play feature adds some authenticity and nostalgia to the classic arcade games, in my opinion.
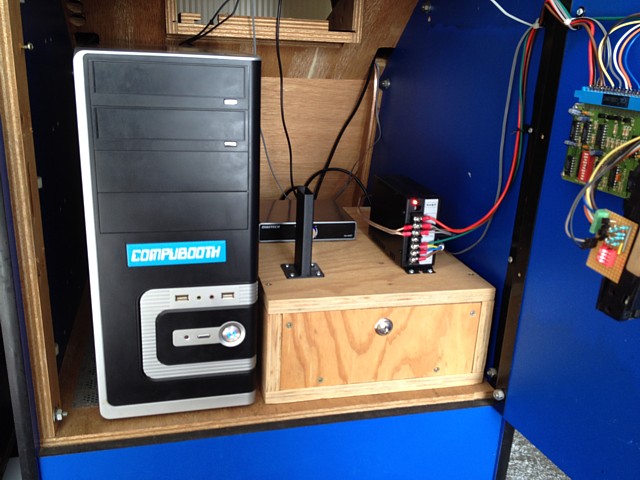
In the space originally occupied by the power distribution unit there is room for a normal size desktop PC. This one has Windows 7 and loads 'EmulationStation' on startup. From there 'MAME' or 'DW Jukebox' can be selected. Within EmulationStation the PC Keyboard and Mouse are not usually required, normal functions can be selected via the control panel joystick and switches.
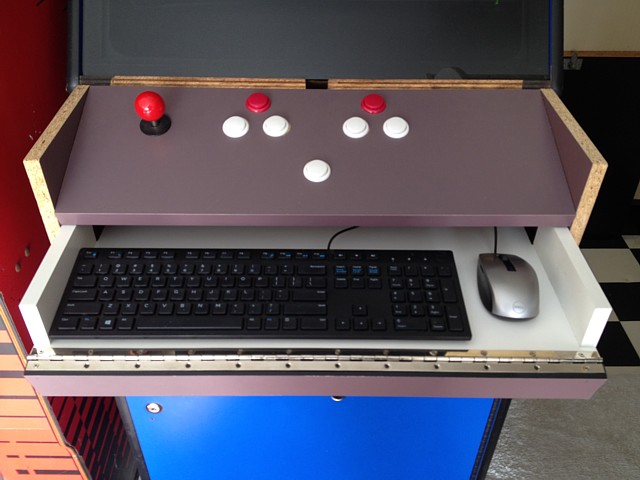
The keyboard drawer taking shape. The front panel also hinges down to improve access for typing. The control panel sides are yet to be trimmed to shape and T-Moulding added. It also needs a metal strip to keep the glass in place, originally this was done by a flange on the metal Control Panel.
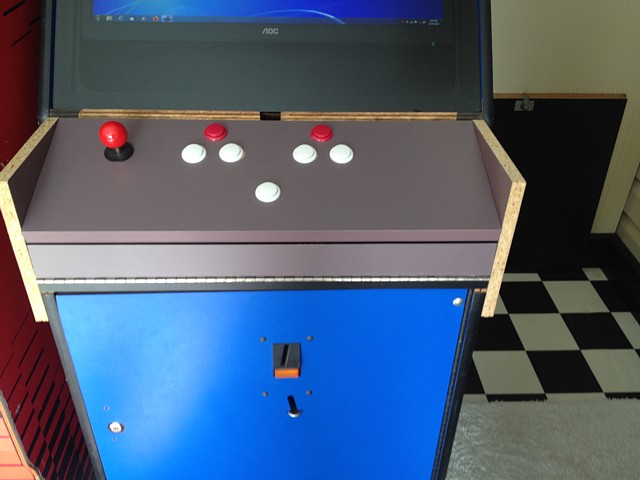
Keyboard drawer closed. The control panel layout (first revision) - based on Defender and Asteroids controls. Some adjustment is still needed to the positioning of the joystick and buttons so watch out for Revision 2 coming soon...
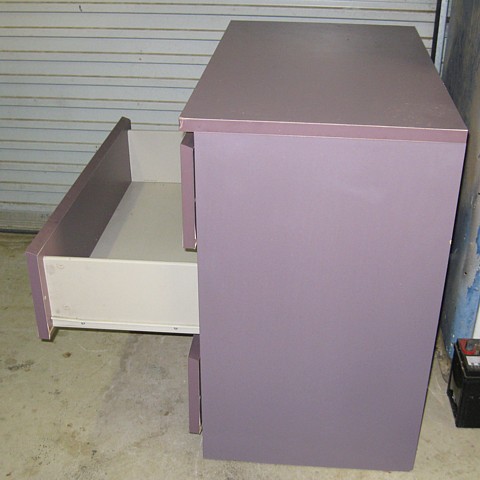
Materials for the Control Panel are courtesy of this Ikea drawer unit. The drawer fronts are extra thick and just right for the control panel. I don't mind the colour difference, the blue and mauve colours remind me of the original Space Invaders control panel artwork and make a good match for the 'Challenger' Marquee graphic as well. Waste not, want not...
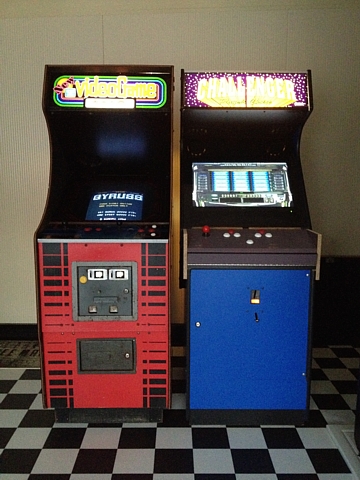
Gottlieb and Taito cabinets lit up (DW Jukebox on screen).
My Gottlieb Challenger MAME conversion has been working fine since I got it up and running a few years ago but I never really finished the project at the time and have since had contrasting ideas about either completing the MAME conversion or returning the unit to original trim with a 26" CRT and full JAMMA wiring. The cabinet had no internals at all and 26" CRT monitors are not easy to find so in the interim I installed an LCD screen and PC setup.
There was also no control panel or wiring harness so I just made up a single player panel with buttons in a sort of Defender / Asteroids layout with a pull out drawer underneath for a standard PC keyboard and mouse. Rather than using a JAMMA harness the joystick and buttons were directly wired to a 'zero delay' type interface which connects to the PC via USB cable.
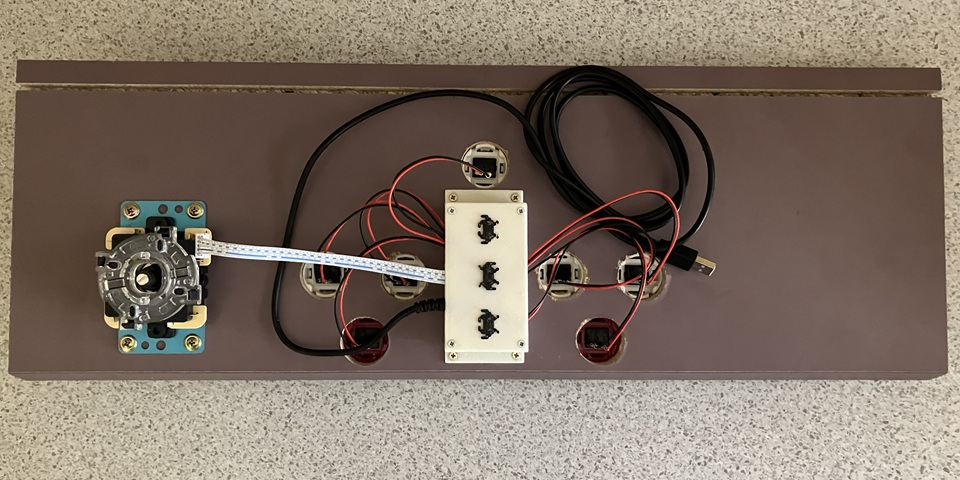
At the time I did take care to make any additions to the original cabinet without cutting or drilling new holes so the machine could always be returned to standard trim if the missing original parts were found at a later date. Since then I have managed to source a 26" CRT and chassis in unknown condition so if those turn out to be repairable I may eventually remove the LCD screen in favour of the 26" standard definition CRT monitor.
In the meantime I have decided to upgrade the existing control panel to a 2 player configuration with a more standard 6 button layout using a JAMMA wiring harness. Instead of the single joystick 'zero delay' interface I will use a 2 player JAMMA to USB interface, still connected to the PC via USB cable. Apart from allowing a much greater choice of games within MAME the control panel layout is better suited to this '90s era machine.
To position the joysticks and buttons I will use a printed control panel overlay, choosing the ubiquitous 'Street Fighter II' theme for the control panel however I'm not intending a complete re-theme of the machine and prefer to retain the original 'Challenger - Player's choice' marquee graphic. The CPO is printed on vinyl with a clear laminate applied to provide some resistance to wear.
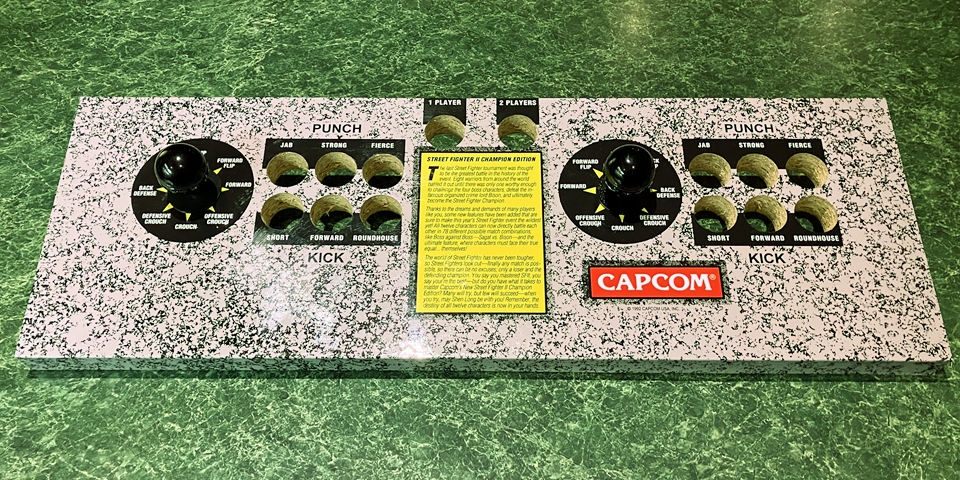
The control panel itself is made from melamine coated particle board, at around 24mm thickness - that leaves the joystick shafts a bit short so I may swap the two ball tops for some black baton style tops which stand a little taller. Although a lot of people seem to prefer the MCA Joystick / ball top appearance commonly found on locally built machines I think these lighter force joysticks with baton tops should suit the control panel theme for this build well enough.
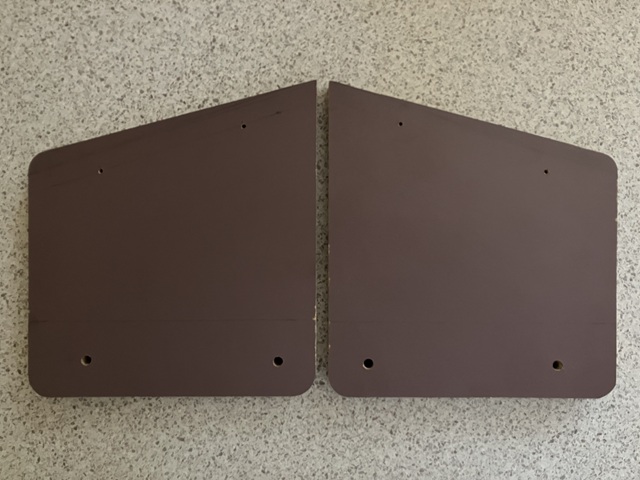
Having applied the overlay to the new control panel and keyboard drawer front, only the side panels remain in this mauve coloured melamine finish so I will cover both inner and outer faces with black vinyl to better suit the new control panel theme. In this photo I have (finally) trimmed their top edges to a suitable slope and rounded the front and bottom corners before cutting a groove for some 16mm black T moulding using my trim router and slot cutting bit.
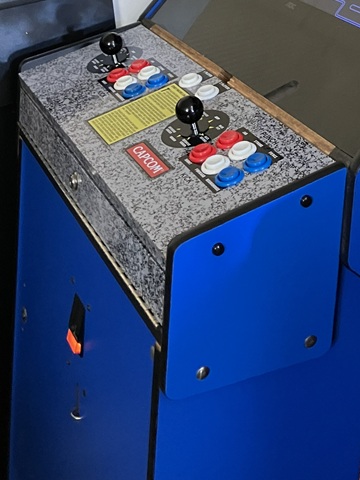
Update; after covering both sides of the side panels with black vinyl the inside faces look fine - only a small strip is visible between the control panel and the black T moulding along the top edge in any case - but the jet black outside faces seemed to clash with the blue side panels of the machine. Original control panel assemblies used matching blue side panels (or red in the case of red machines).
I don't have any blue vinyl sheet and the size of those two pieces isn't enough to justify buying a full roll so instead I have found some similar looking blue paint, left over from a previous sign writing project. After sanding the melamine to provide a 'key' for the paint to adhere to, I have applied a couple of coats with a small foam roller and the colour turns out to be an almost perfect match for the original blue laminated side panels of the machine.
With the control panel now fully populated I can connect the joysticks and buttons using a pre fabricated JAMMA standard wiring harness - with a couple of additions. The JAMMA standard originated in the mid 1980s as a way of making arcade games and their cabinets interchangeable to some extent however at the time only 4 buttons per player were defined in the standard edge connector pinout.
Later games such as Street Fighter II which used more than 4 buttons per player required a separate wiring harness for those extra buttons. In the case of Street Fighter II, buttons 5 and 6 were assigned to variations of the kick action so the additional wiring is commonly referred to as a 'kick harness'. In this case the interface which I'm using has those inputs on pins 26 and 27 of the edge connector (a variation of the standard known as CHAMMA) so I can just add the 'kick' wiring to the main harness.
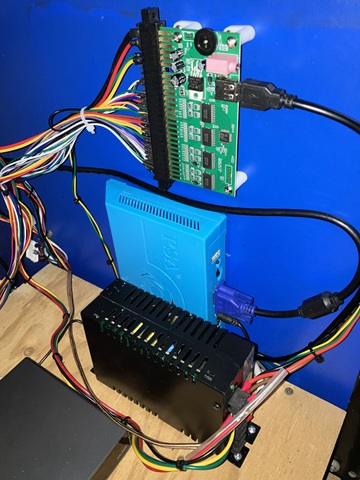
Apart from the PC interface, the new wiring setup is also compatible with typical multi game units so I am including this one as a 'standby' which can be used if the computer is out of action for maintenance or upgrade etc. This one is a 'Pandora Saga XIV' which I bought a while ago, I have only tried it out briefly as a console with a USB gamepad and never used it with actual arcade controls before.
It has plenty of games available (about 3390, a mix of arcade and console titles) but as far as I could tell only suited a widescreen monitor and had no option for a 4:3 aspect display. In this machine I'm using a 24" 16:9 LCD display which has both VGA and DVI inputs so I can connect the multi game unit to the monitor's VGA input while the PC connects to the DVI input; the monitor will automatically switch to whichever signal is active at the time.
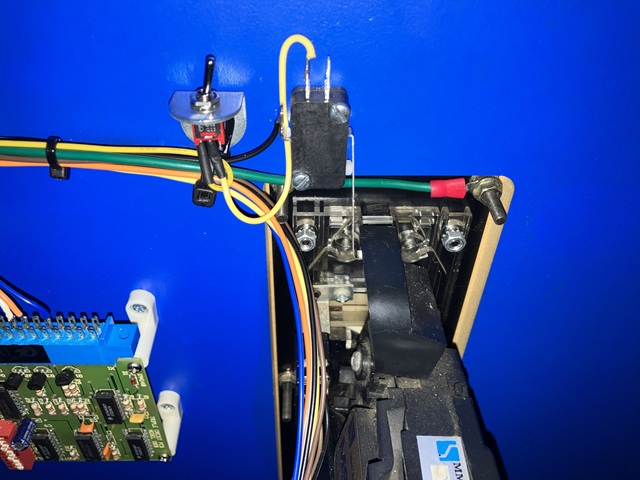
The Coin 1 input from the JAMMA harness connects to the output from the Gottlieb triple coin credit board (lower left of photo) which assigns a number of credits according to the coin(s) inserted. As an alternative to coin play I'm adding a hidden credit switch, this one connects to the Coin 2 input and is simply a microswitch which is activated when the coin reject button of the Mars MS111 coin mech is pressed. For coin only operation the credit switch can be disabled by a small toggle switch.
The control panel upgrade to my Gottlieb Challenger MAME cabinet is just about complete. I've fitted a black powder coated aluminium strip to retain the glass - original machines had a flange on the back edge of the metal control panel but my custom control panel and keyboard drawer are made from particle board so I have added a separate metal strip for this purpose, affixed with a row of countersunk screws.
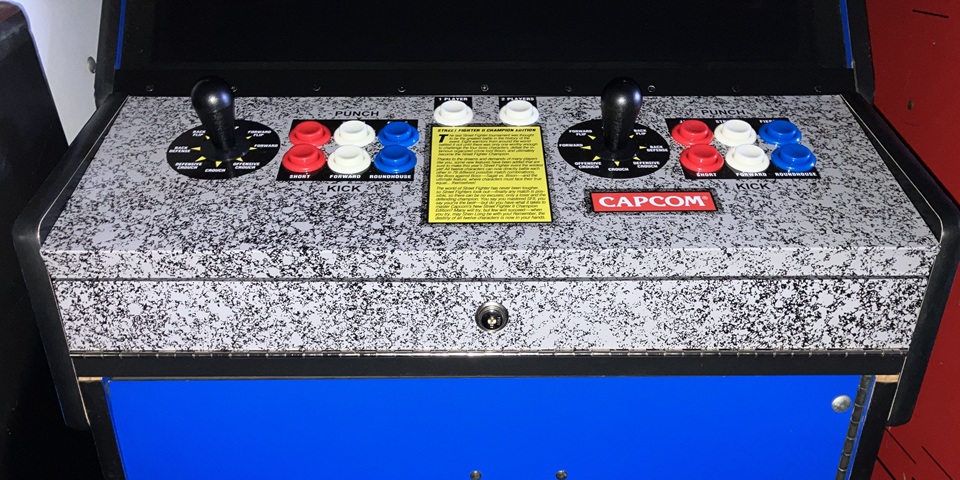
I've also replaced the two joystick ball tops with black baton shaped ones which stand a little taller. Just as an aside, these ones seem to have the exact same profile as the gear stick knob on a 1968 Morris Mini - apart from the imprint of the gear select pattern on top. Ah, the memories... Anyway, I added a drop of Loctite to each as I threaded them onto the shafts just to ensure they don't come adrift mid-game at some point.
Having completed the controls and interface the next step will be a re-load of the computer OS and later version MAME install, using the newer attact mode frontend rather than emulationstation. And while that progresses I've swapped in another PC - this one is actually the 'spare' PC for my previous, DIY arcade Christmas project from last year.
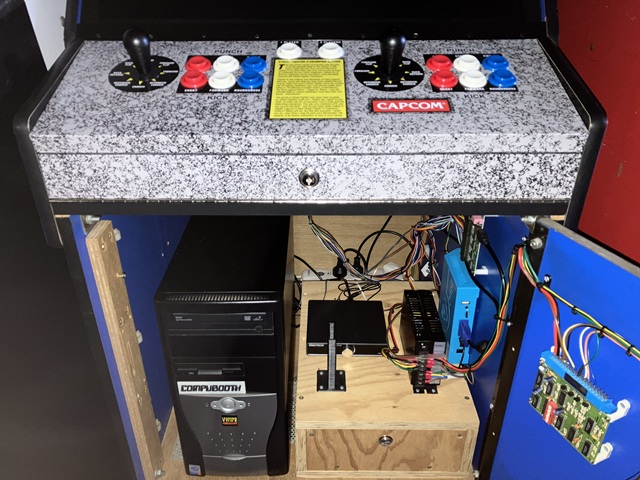
The idea behind the spare PC is to have a fully set up and working replacement for the computer in that machine so that, in the case of any issues the computer can be swapped out and repaired offsite without too much disruption. The games installed are mainly based on the 60 in 1 and 19 in 1 games lists, with a few other kid-friendly titles added and set up to suit the 2 player, 2 button control panel fitted to that machine.
Once re-loaded, the PC for this machine could have a much broader selection of games with up to 6 buttons per player and dual-stick games are also possible. I tend to begin with just some selected favourite titles and then add games along the way rather than starting off with a massive games list with thousands of titles which I will never play.
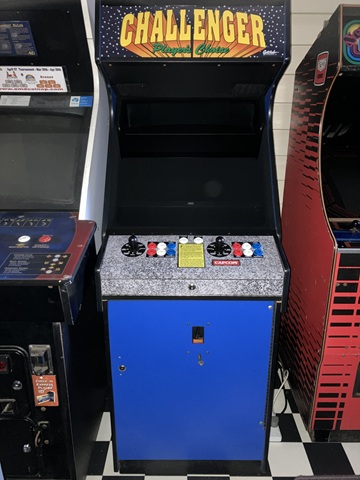
To be continued...
Web Resources (External Links)
MAMEDEV.org | Home of The MAME Project
Gottlieb Challenger Upright 26" inch Arcade Machine Made in Australia - YouTube
Gottlieb Electronics/All Electro Sales and Wholesaler - Belmore, NSW | Past/Lives of the Near Future
All images and text on this website are Copyright.
Contact: jbtech at telstra dot com